
 125
125
Creating Watermarks in Nuance PDF
1. Open a document in Nuance PDF.
2. Go to the Toolbar and type Watermarks. The watermark feature will be listed. Click Watermarks.

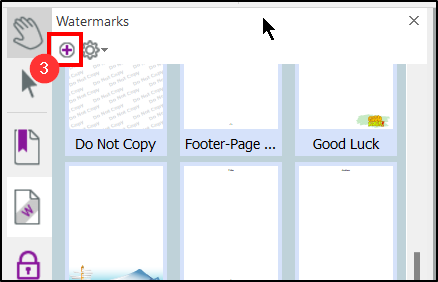
3. On the left side it will list a Watermarks Pane. Click the + symbol to create a new watermark.
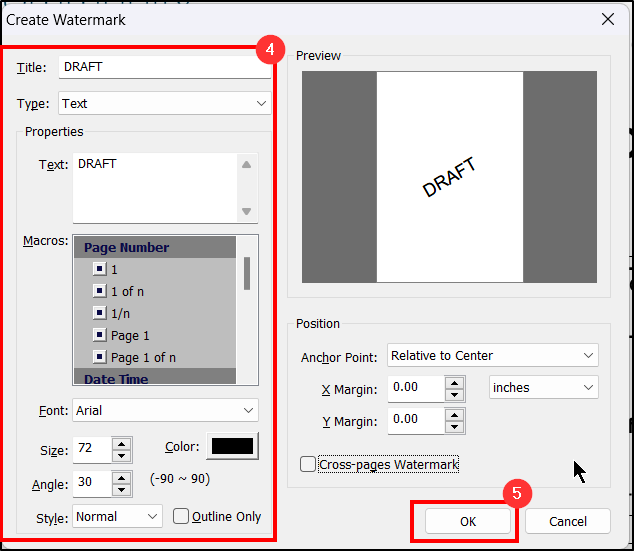
4. A window will appear to adjust settings. Please adjust according to your need(s).
5. After the preview looks sufficient, click OK.
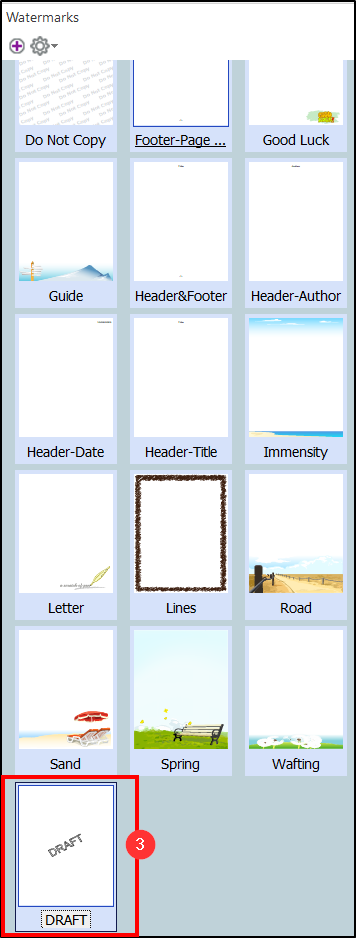
6. The newly created watermark will be added to the Watermarks Pane.
Adding a Watermark to a Document
1. Open a document in Nuance PDF.
2. Go to the Toolbar and type Watermarks. The watermark feature will be listed. Click Watermarks.
3. On the left side it will list a Watermarks Pane. Double click on the watermark you wish to use.
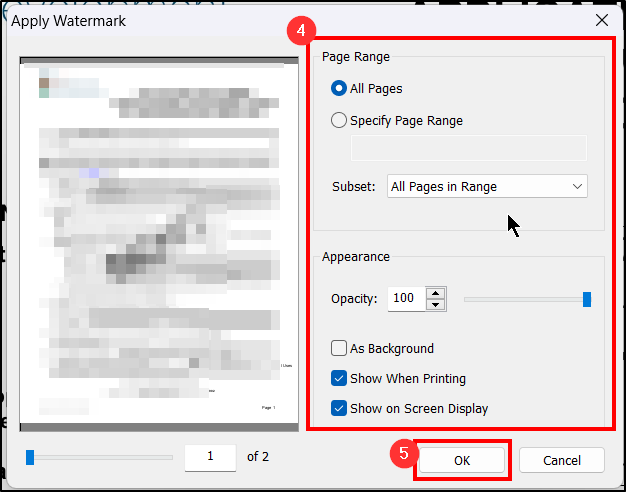
4. A window will appear to select settings. Choose these settings accordingly.
5. Click OK.
6. The document will now include the watermark. Save to keep this watermark.
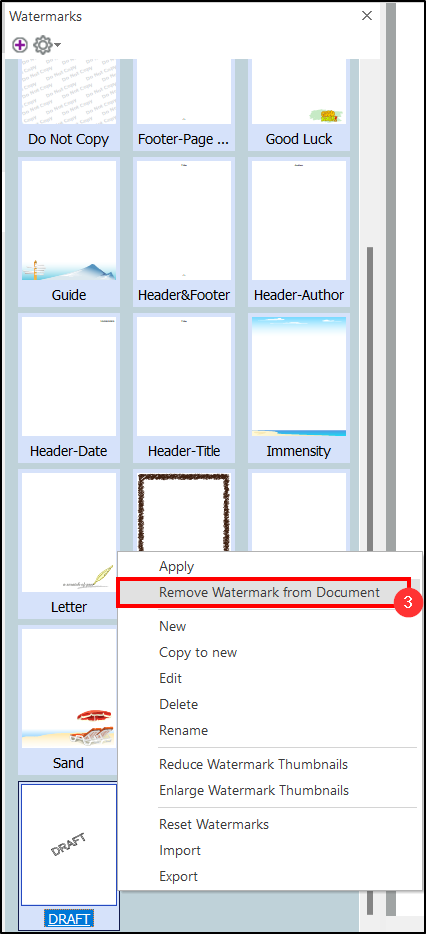
Removing a Watermark on a Document
1. Open a document in Nuance PDF.
2. Go to the Toolbar and type Watermarks. The watermark feature will be listed. Click Watermarks.
3. On the left side it will list a Watermarks Pane. Right click the same watermark and choose to remove it from the document.
Questions? Contact Us!
IT Support Desk
![]()
![]()
Hours - 8:00AM - 6:00PM EST
Email - [email protected]
Phone - (330) 849-6699*
*For Emergency Assistance please use option 8

