
 56
56
About Dictalogic
- Dictalogic is the current software for attorneys and their assistants to create and complete verbal dictations.
- If you wish to obtain a license for this software, please contact IT Support.
The Author Role (Attorneys)
- The Author role is where a dictation or conversation can be assigned to either a Transcriber (legal assistant) or placed in a queue.
- The dictation can be sent as manual transcription – it’s a traditional dictation method where the transcriber listens to the audio and types the dictation using the keyboard and foot pedal.
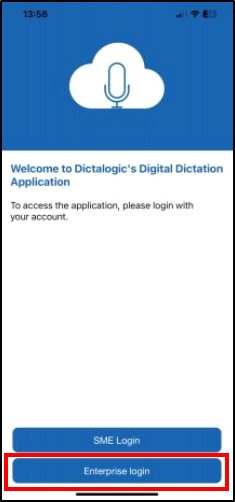
Signing Into the Dictalogic Mobile App
- Go to the Apple App Store or Google Play Store and download the Dictalogic app.
- Once installed, launch the Dictalogic app.
- Tap on the Enterprise Login button and proceed to enter your R&A Email and Network Password. Your Authenticator app may be required to fully sign-in.
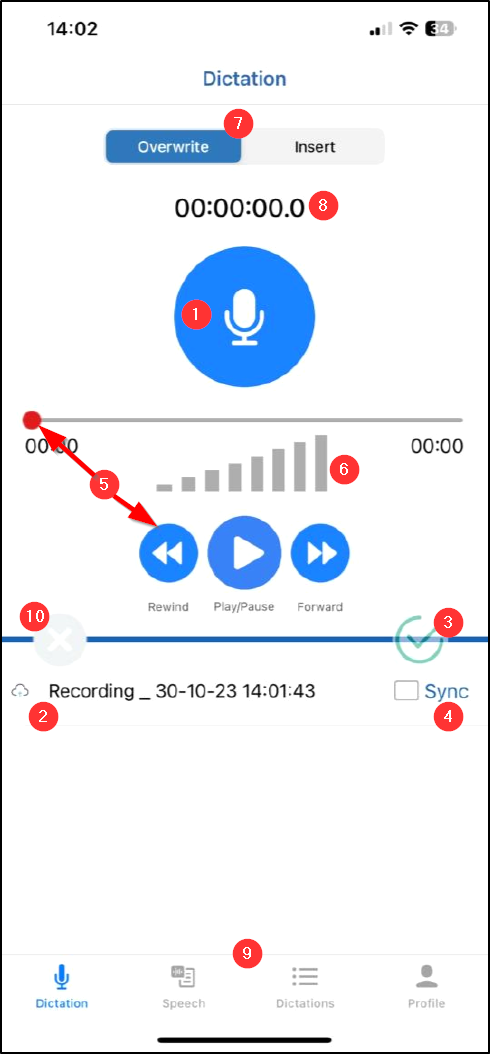
Audio Recorder Instructions on Mobile App
See picture below of the areas mentioned by number:
- Record button to Dictate.
- Dictation saved in phone memory and yet to be saved on the cloud. They stack up here for the authors visibility.
- Green Check Mark to Save audio dictation: Once the audio recording is completed. Click on the green check mark to save dictation.
- Sync: To upload offline dictation to the cloud and assign it to the transcriber, click the Sync checkbox and press SAVE, which will appear in the top right corner.
- Drag the slider to listen to audio dictation from a particular point or tap Rewind/Forward/Play buttons.
- The microphone sound intensity indicator lights up when the sound is recorded.
- Default – Always append audio at the end.
- Click on Insert and choose position to add new audio at your desired place.
- Click on Override and select position to remove audio from your desired place.
- Recorded Audio timer.
- Quick navigation tabs at the bottom.
- Dictation – Recorder to perform Audio to text (upper half of the screen) and offline dictations or pending upload (bottom half)
- Speech – Realtime speech to text ability to perform Speech to text.
- Dictations - Display list of dictation uploaded to the cloud – this view identical to the web view for transcribers.
- Audio Dictation Tab: Display list of Manual and Custom speech dictation and real time status.
- Speech Dictation Tab: Display list of real time speech to text dictations meta data and rea time status.
- Profile – This tab contains a backup section where audio files are backed up in a local device.
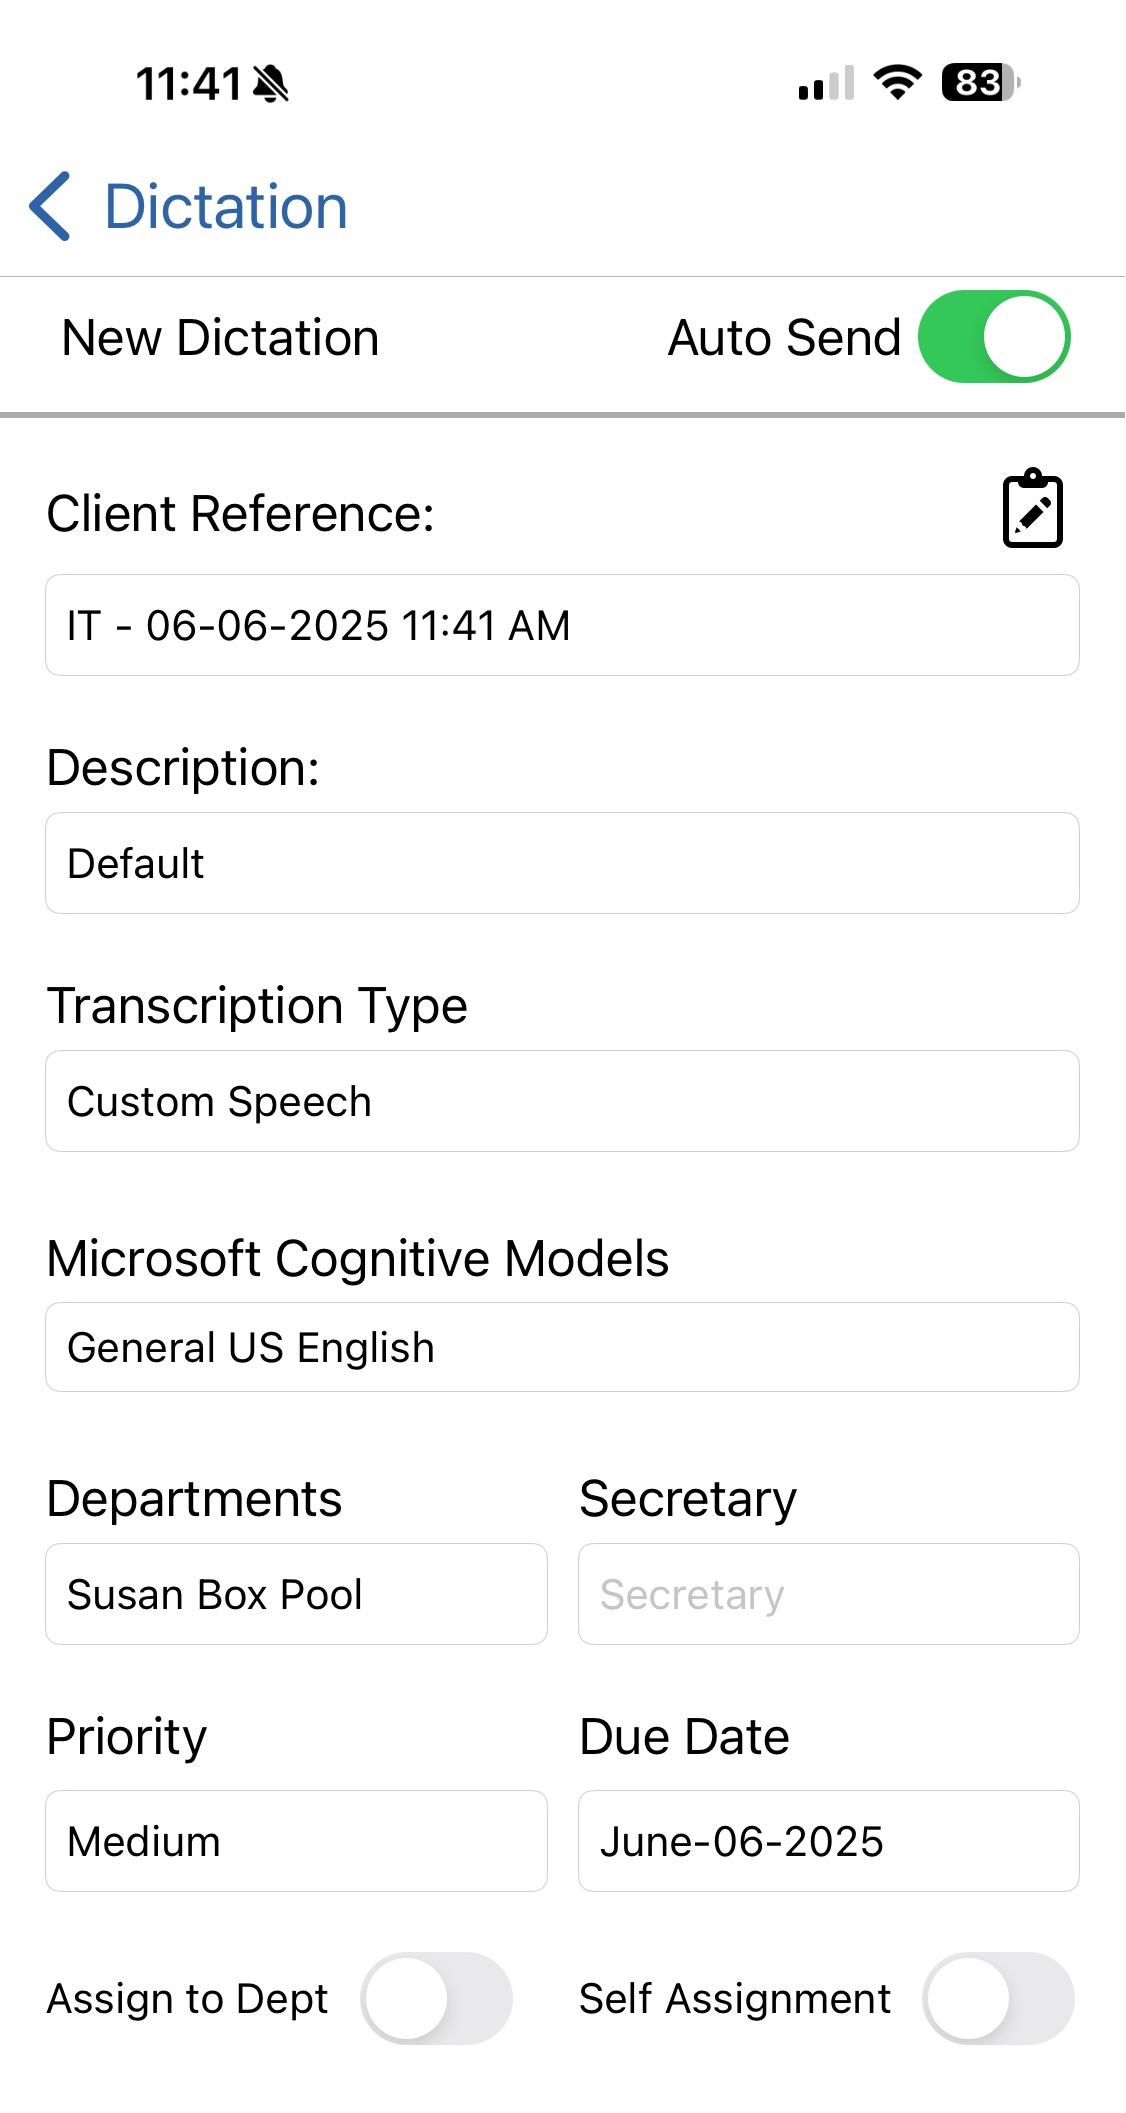
Once save is clicked, author will have the opportunity to:
- Add a client reference (ie, client matter number, or name)
- Choose a default (ie, correspondence)
The departments should be their own attorney pool. (The pool consists of their assistant and any backup.)
- Only choose specific assistant if want the dictation to ONLY go to that assistant.
- If need to send a dication to someone not in their pool, author can choose All Legal Assistants in the Departments dropdown, then choose a specific assistant from the Secretary dropdown. *NOTE: remind author to confirm it is set back to their pool on next save/send.
Save
To learn about additional features of Dictalogic for your mobile device, please review the PDF documents attached to the bottom of this article.
Questions? Contact Us!
IT Support Desk
![]()
![]()
Hours - 8:00AM - 6:00PM EST
Email - [email protected]
Phone - (330) 849-6699*
*For Emergency Assistance please use option 8


